iPhone photography has become increasingly popular over the past few years, due to the improvements Apple have made to help customers shoot, edit and share photos all in one place instantly, as well as the quality of the cameras, with the most recent iPhone 15 Pro and Pro Max having 48-megapixel resolution, which is better quality than some DSLR cameras and lenses on the market.
With over 1.5 billion active iPhone users worldwide, iPhone photography is clearly on the rise. So here are a few tips to make the most of your iPhone camera!
1. Depth of Field and Exposure
iPhones are great at automatically setting your camera up for you but to fully utilise all of its features, you can take full control with a few simple hacks.
Your iPhone will guess your main subject in the frame and focus on that, but it might not always get it correct first time. To focus on something else, simply tap your screen on the area or subject where you want the main focus to be, therefore overriding your iPhone’s first guess.
You can also do the exact same thing for your exposure. Once you have tapped the screen for your focus you can drag the little sun icon up or down to affect how much light you allow the camera to take in or leave out. This little trick is great for taking silhouette photos.
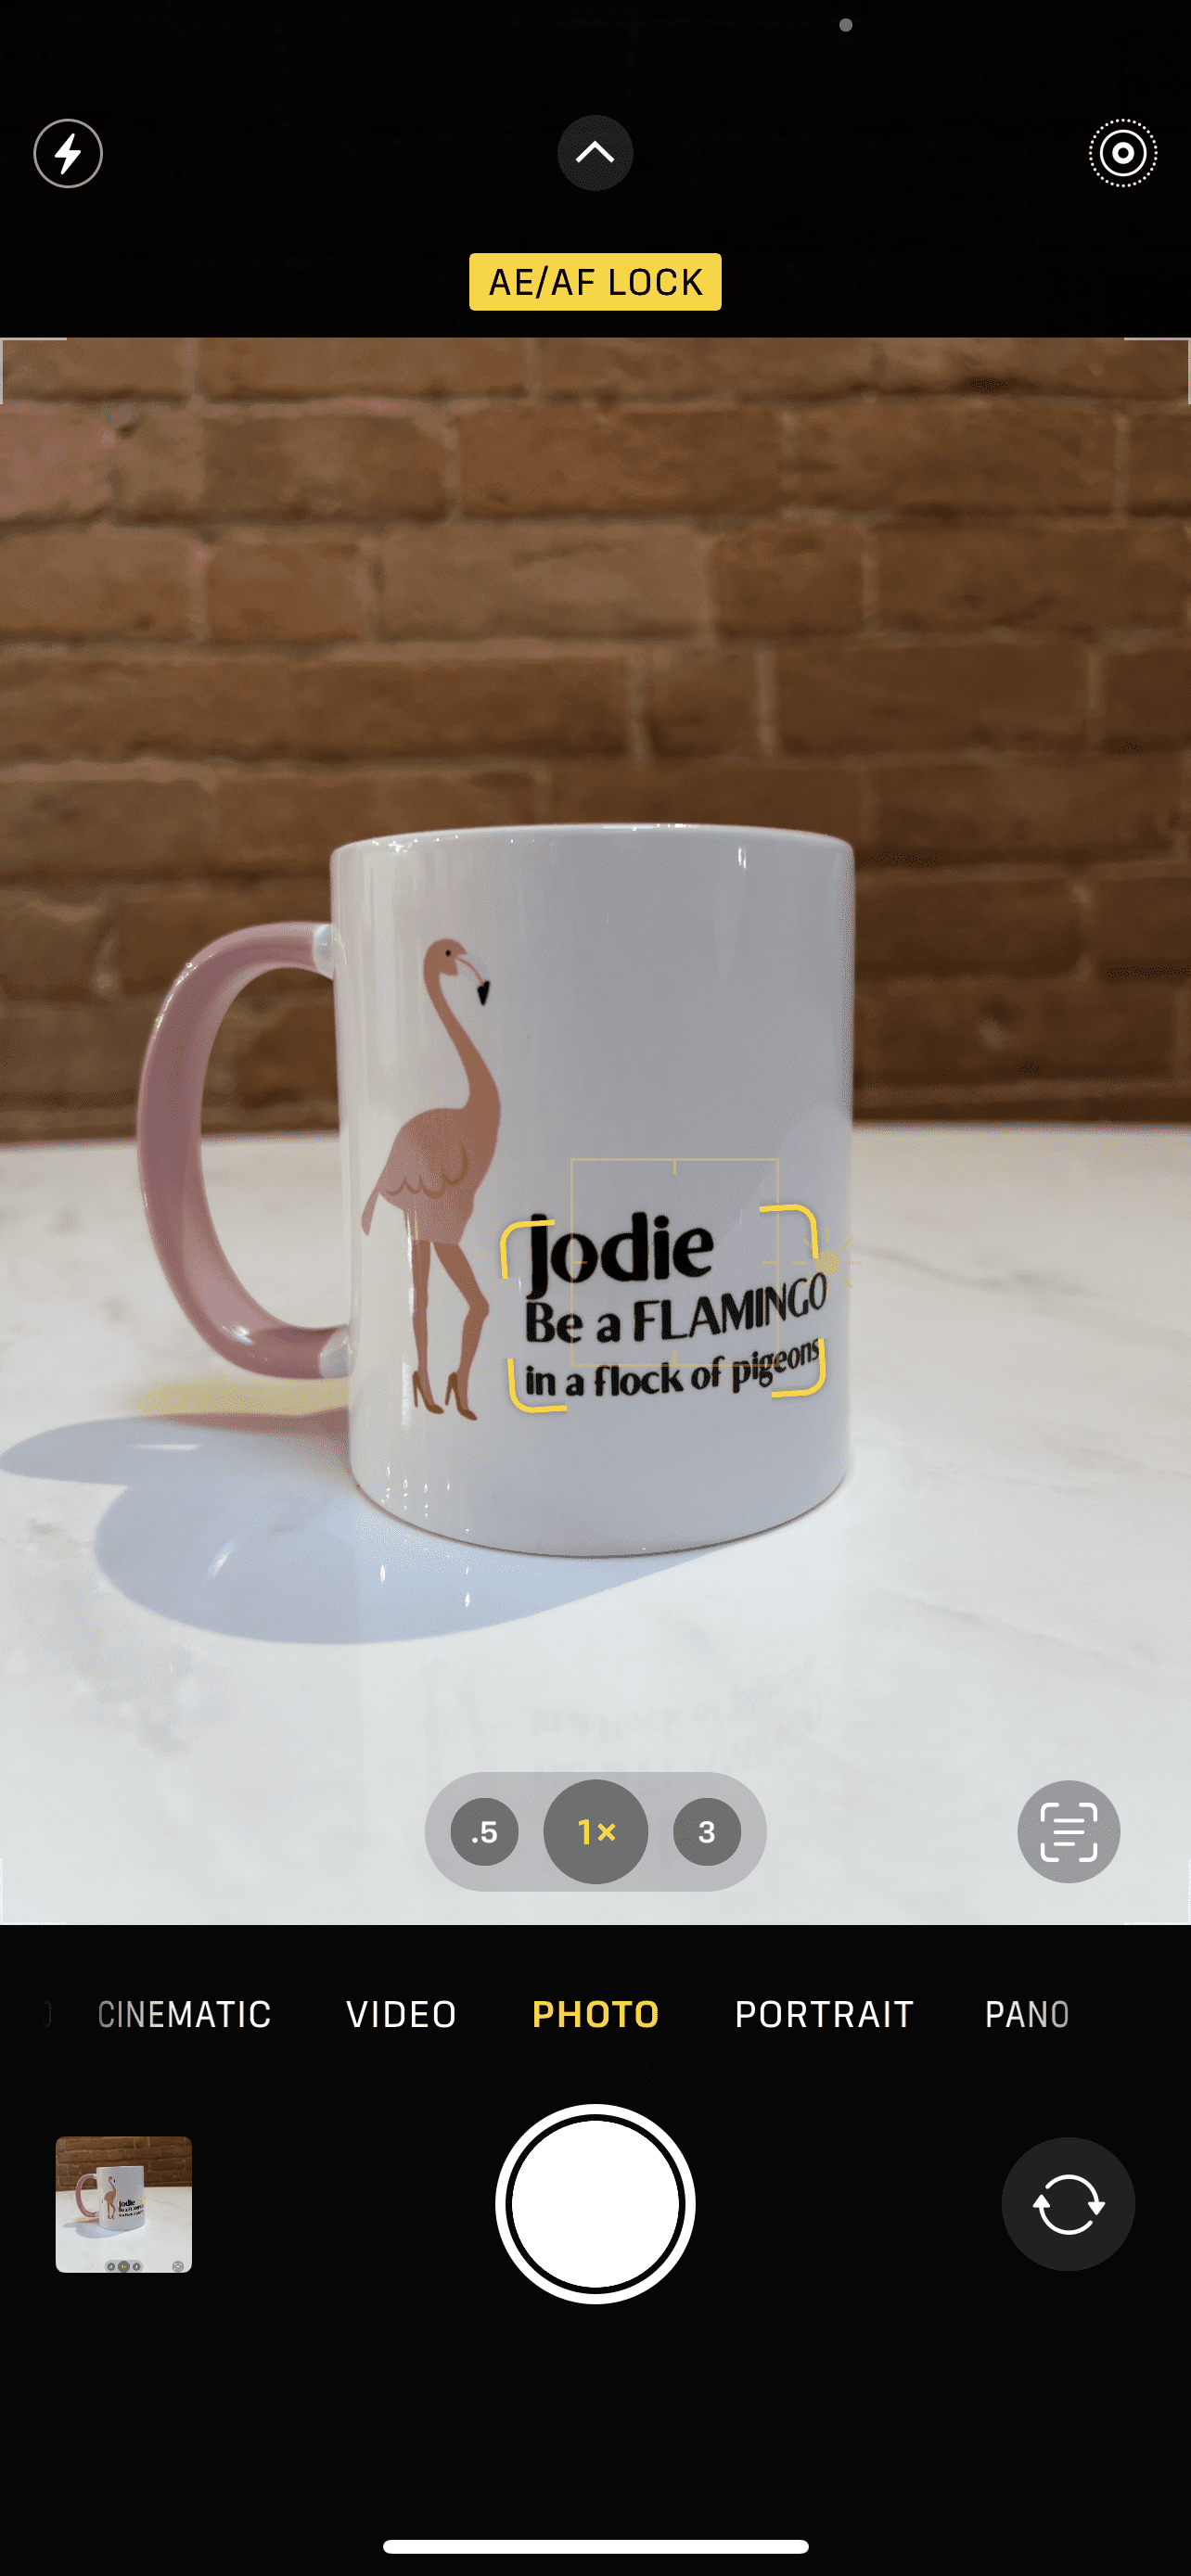
To lock your new focus and exposure settings tap the screen and hold your finger down for a few seconds until ‘AE/AF LOCK’ appears at the top of the screen in a yellow box.
Newer iPhone models (iPhone 7 Plus onwards) also have the ‘portrait’ mode feature, which again automatically detects your subject to make it pop, by blurring the background and giving a full foreground focus. You’ll be used to seeing this in professional photography or TV news interviews, for example. Within portrait mode there are stylised settings which create different effects like studio light, contour light and stage light, and you can also adjust the intensity of the focus (blur) and exposure too.
2. Grid
For better composition, consider using the rule of thirds, helped by adding a 3x3 grid to your screen.. The rule of thirds is a guideline that places the subject in the left, middle or right third of an image, leaving the other two thirds more open. Visually it splits the photo into a grid of nine equal parts and can be a great guide when taking photos.
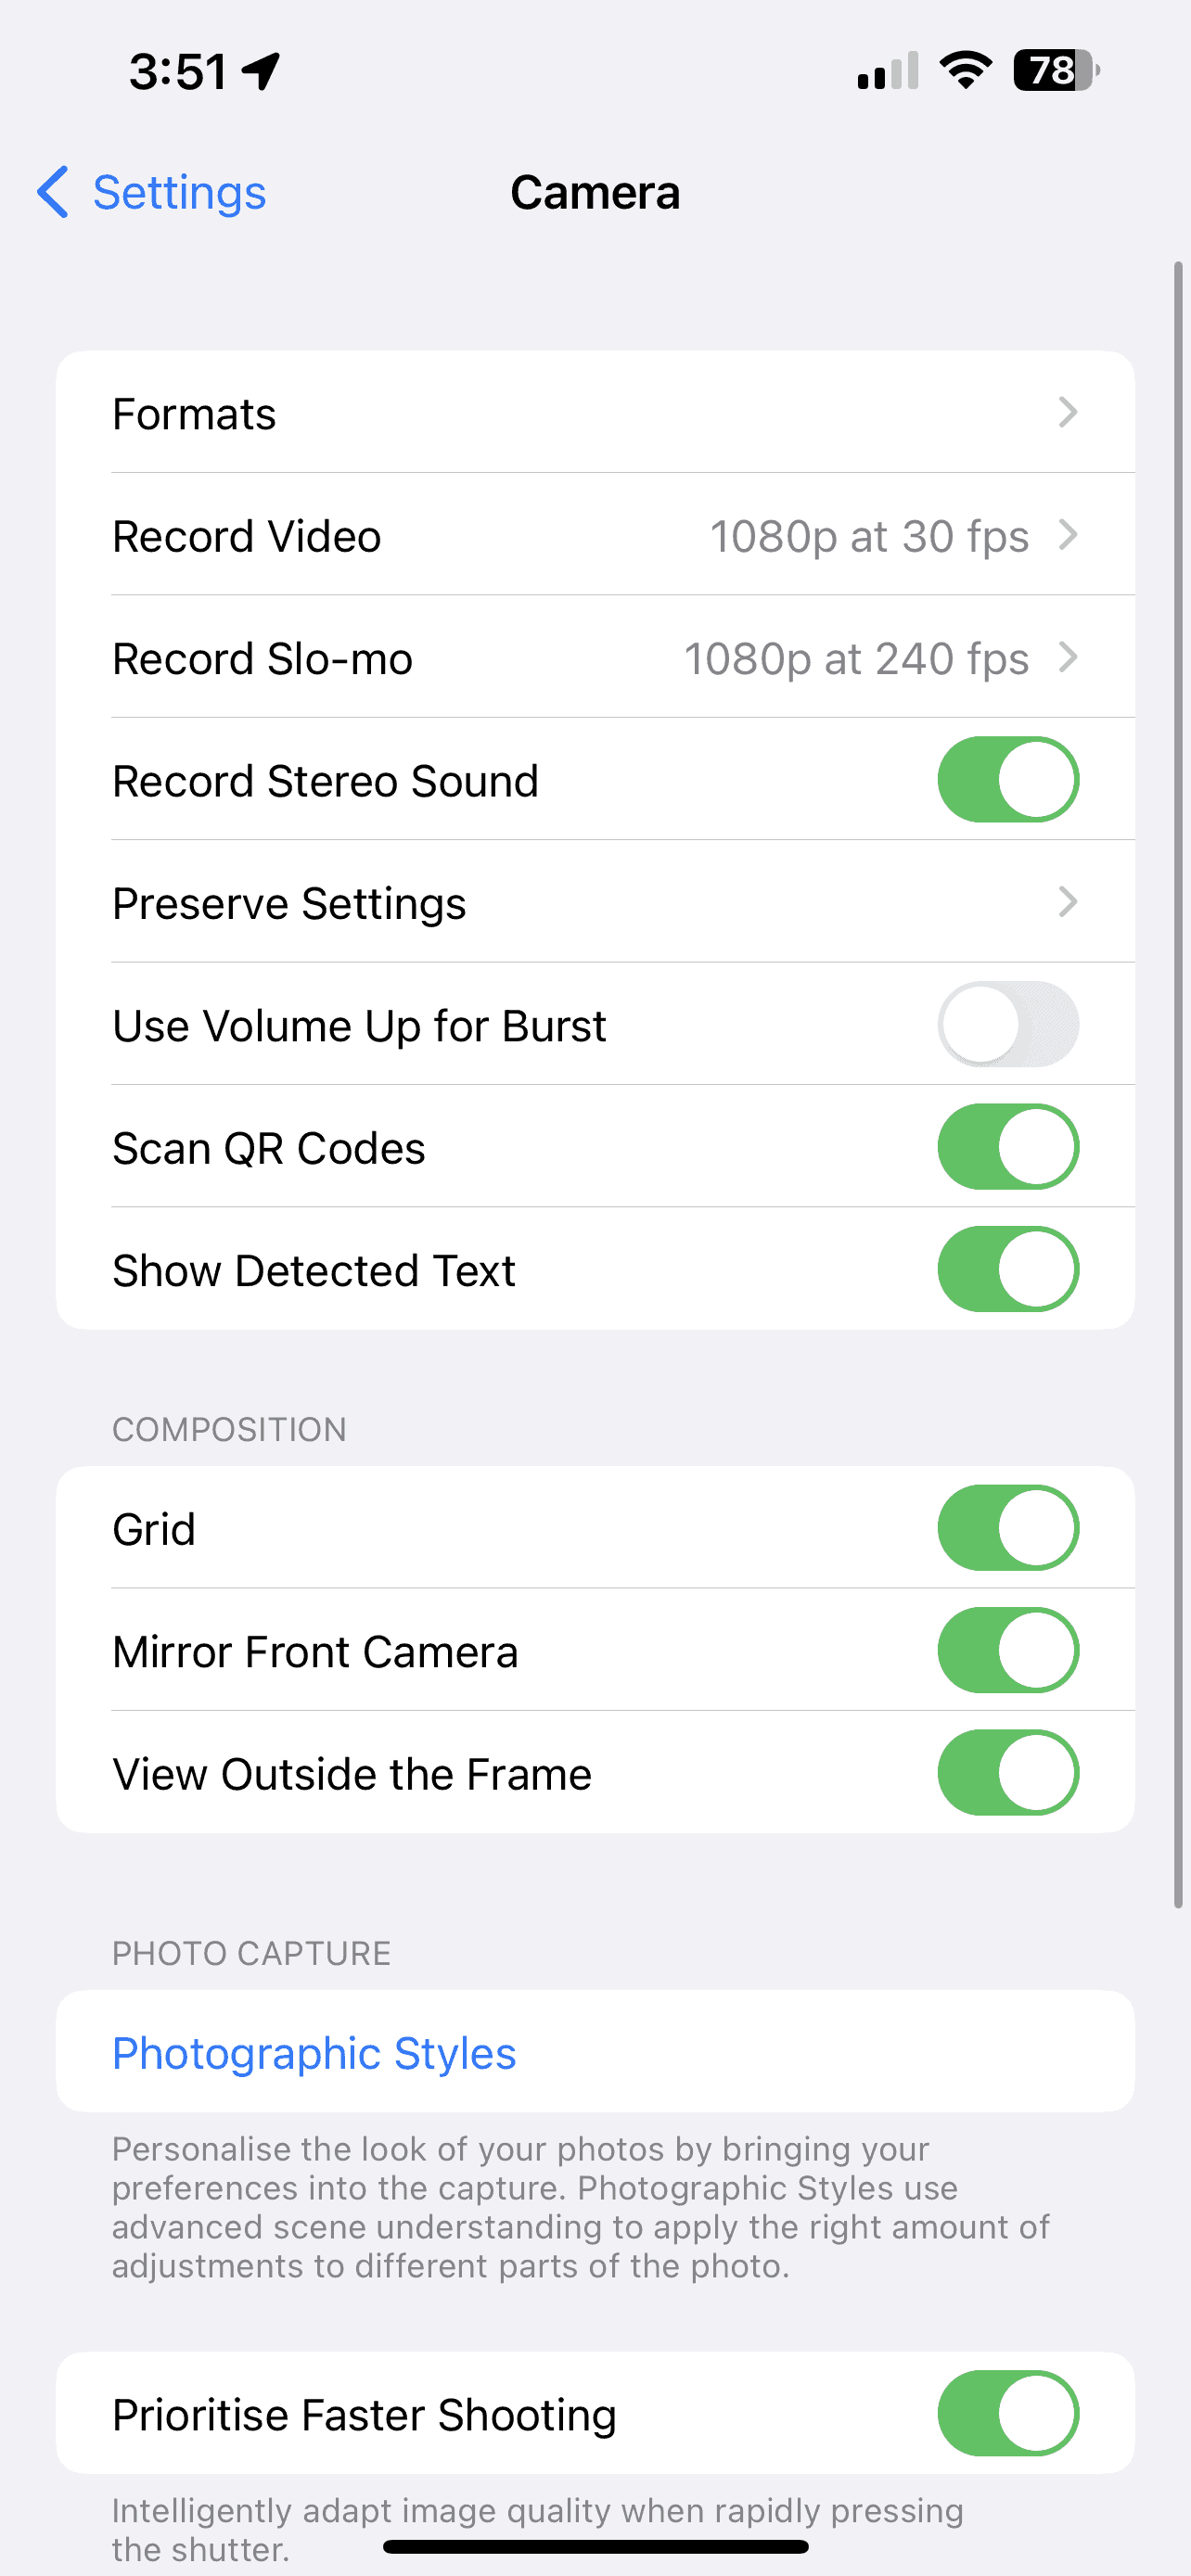
To activate this, head to your iPhone’s Settings and click Camera > Composition > Grid, and click the toggle switch on.
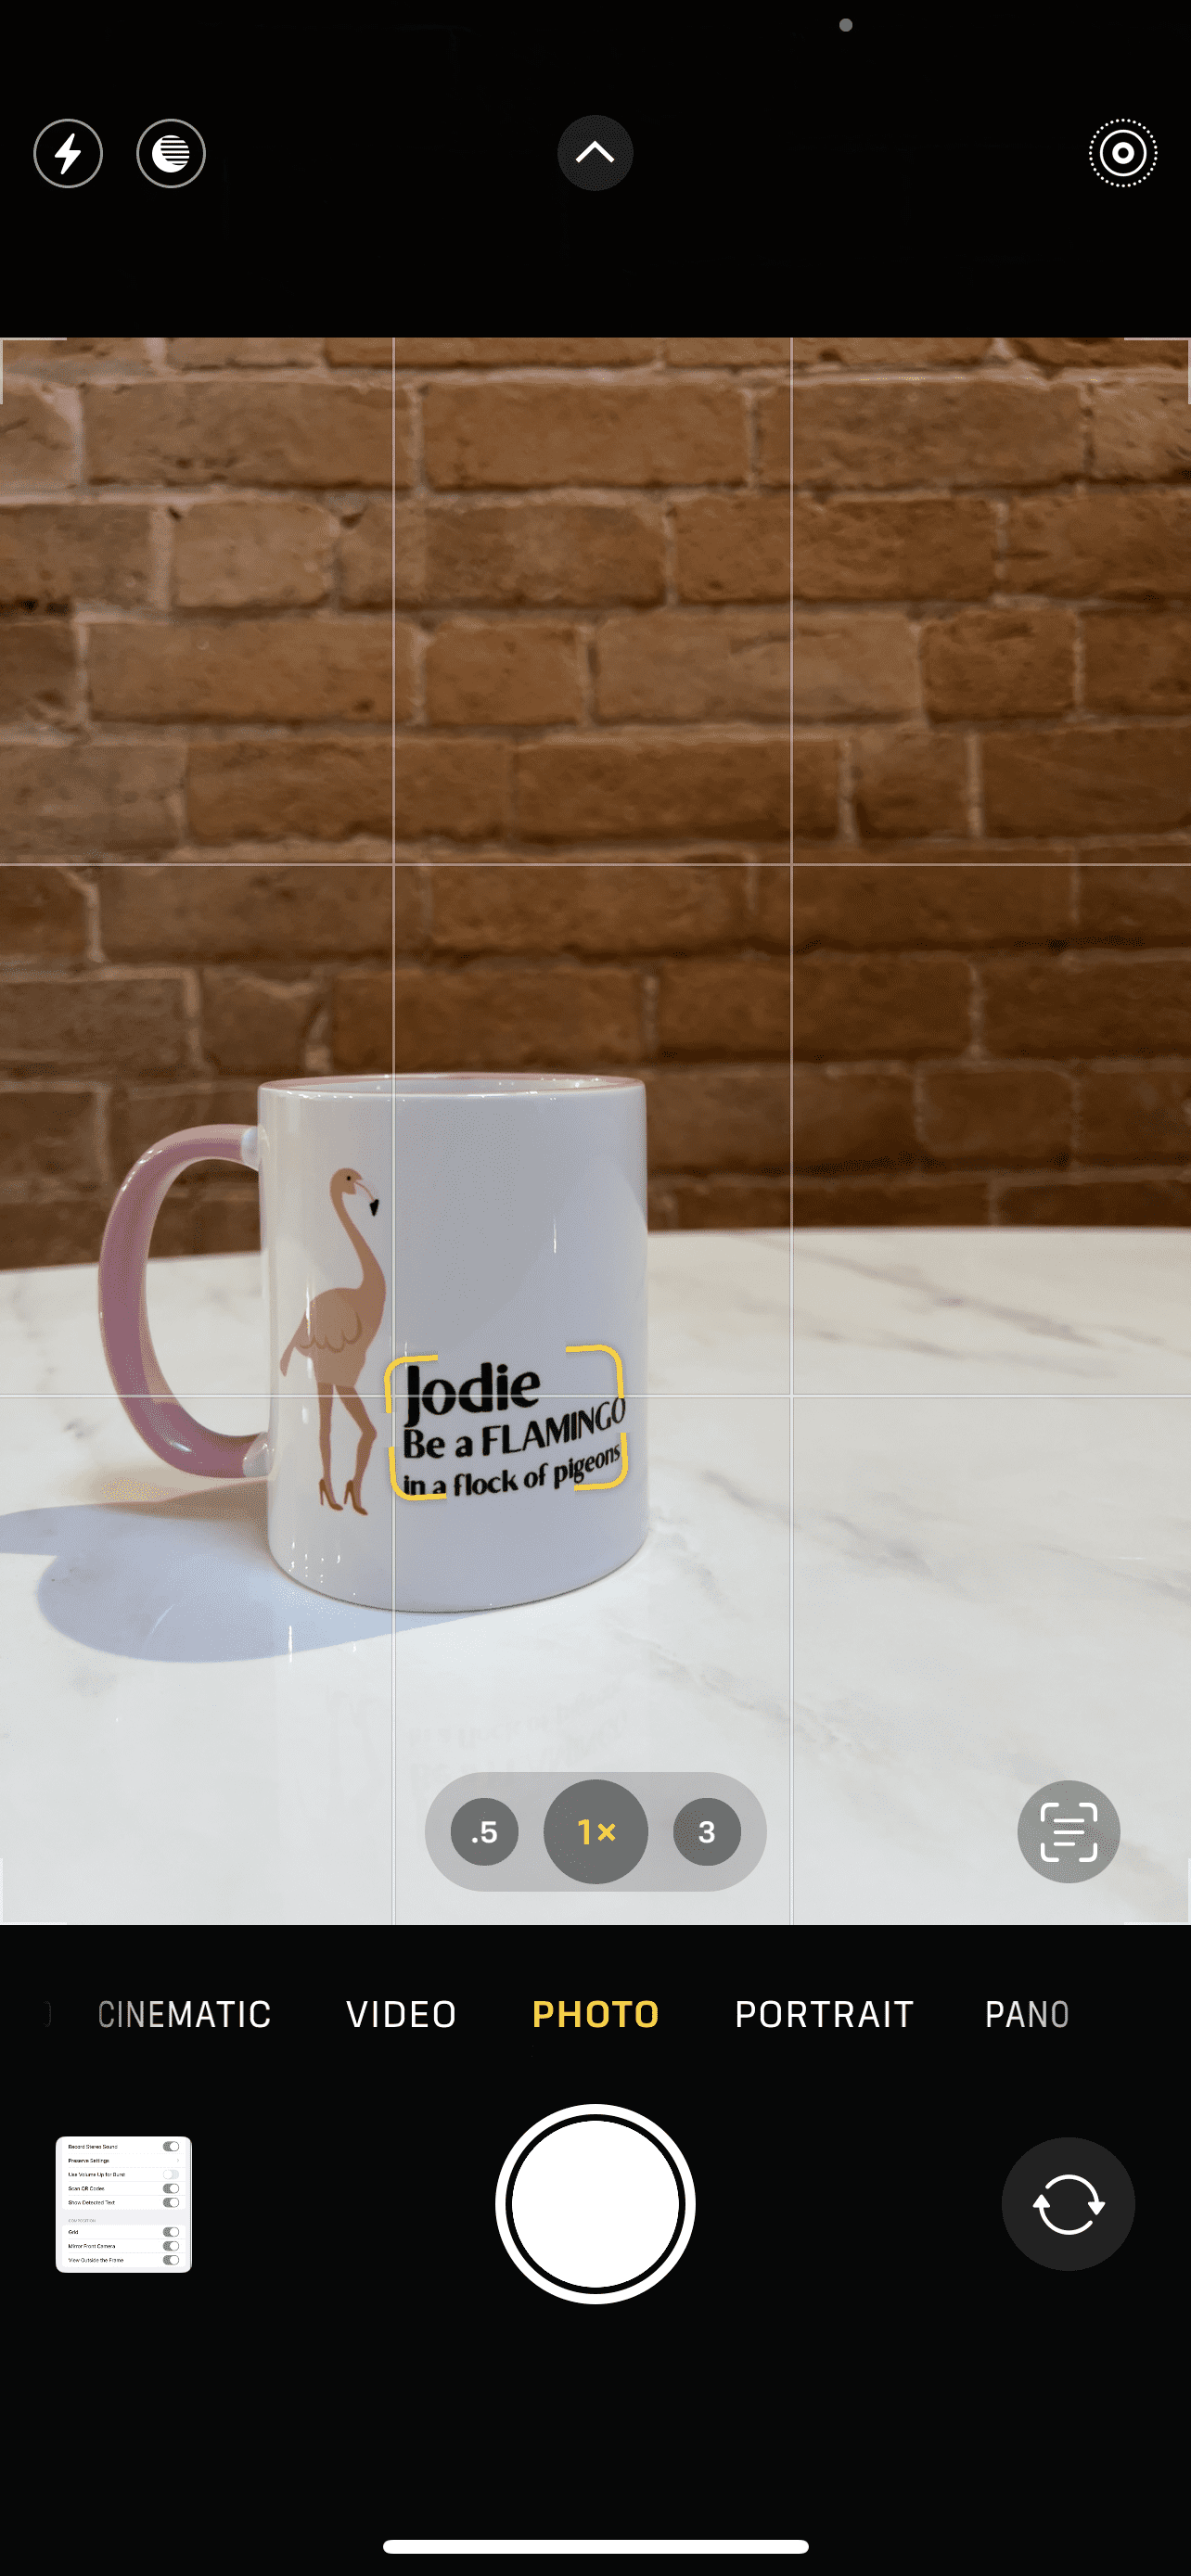
Depth of field also plays a big part in your photos as it shows your audience what or who the main focus is of your image is. The depth of field is the area of sharpness in front or behind your subject (so, you are basically choosing if you want the foreground or the background to be blurry or sharp). Having a shallow depth of field means that the subject closest to you is sharp and in focus, and a deeper depth of field is the opposite to that, a clearer photo with a larger area in focus, generally meaning a sharper image.
3. Shoot in RAW
A feature which few iPhone users are aware of (mostly because they are not photographers and associate this word with uncooked meat or sushi!) is that you can shoot in RAW, on iPhone 12 Pro and later models). A RAW file captures everything that passes through your camera’s image sensor without compressing it, noise reduction, or exposure compensation. In short, and without the jargon, you can have have access to full range of editing in post-production and is how professional photographers tend to shoot their photos.
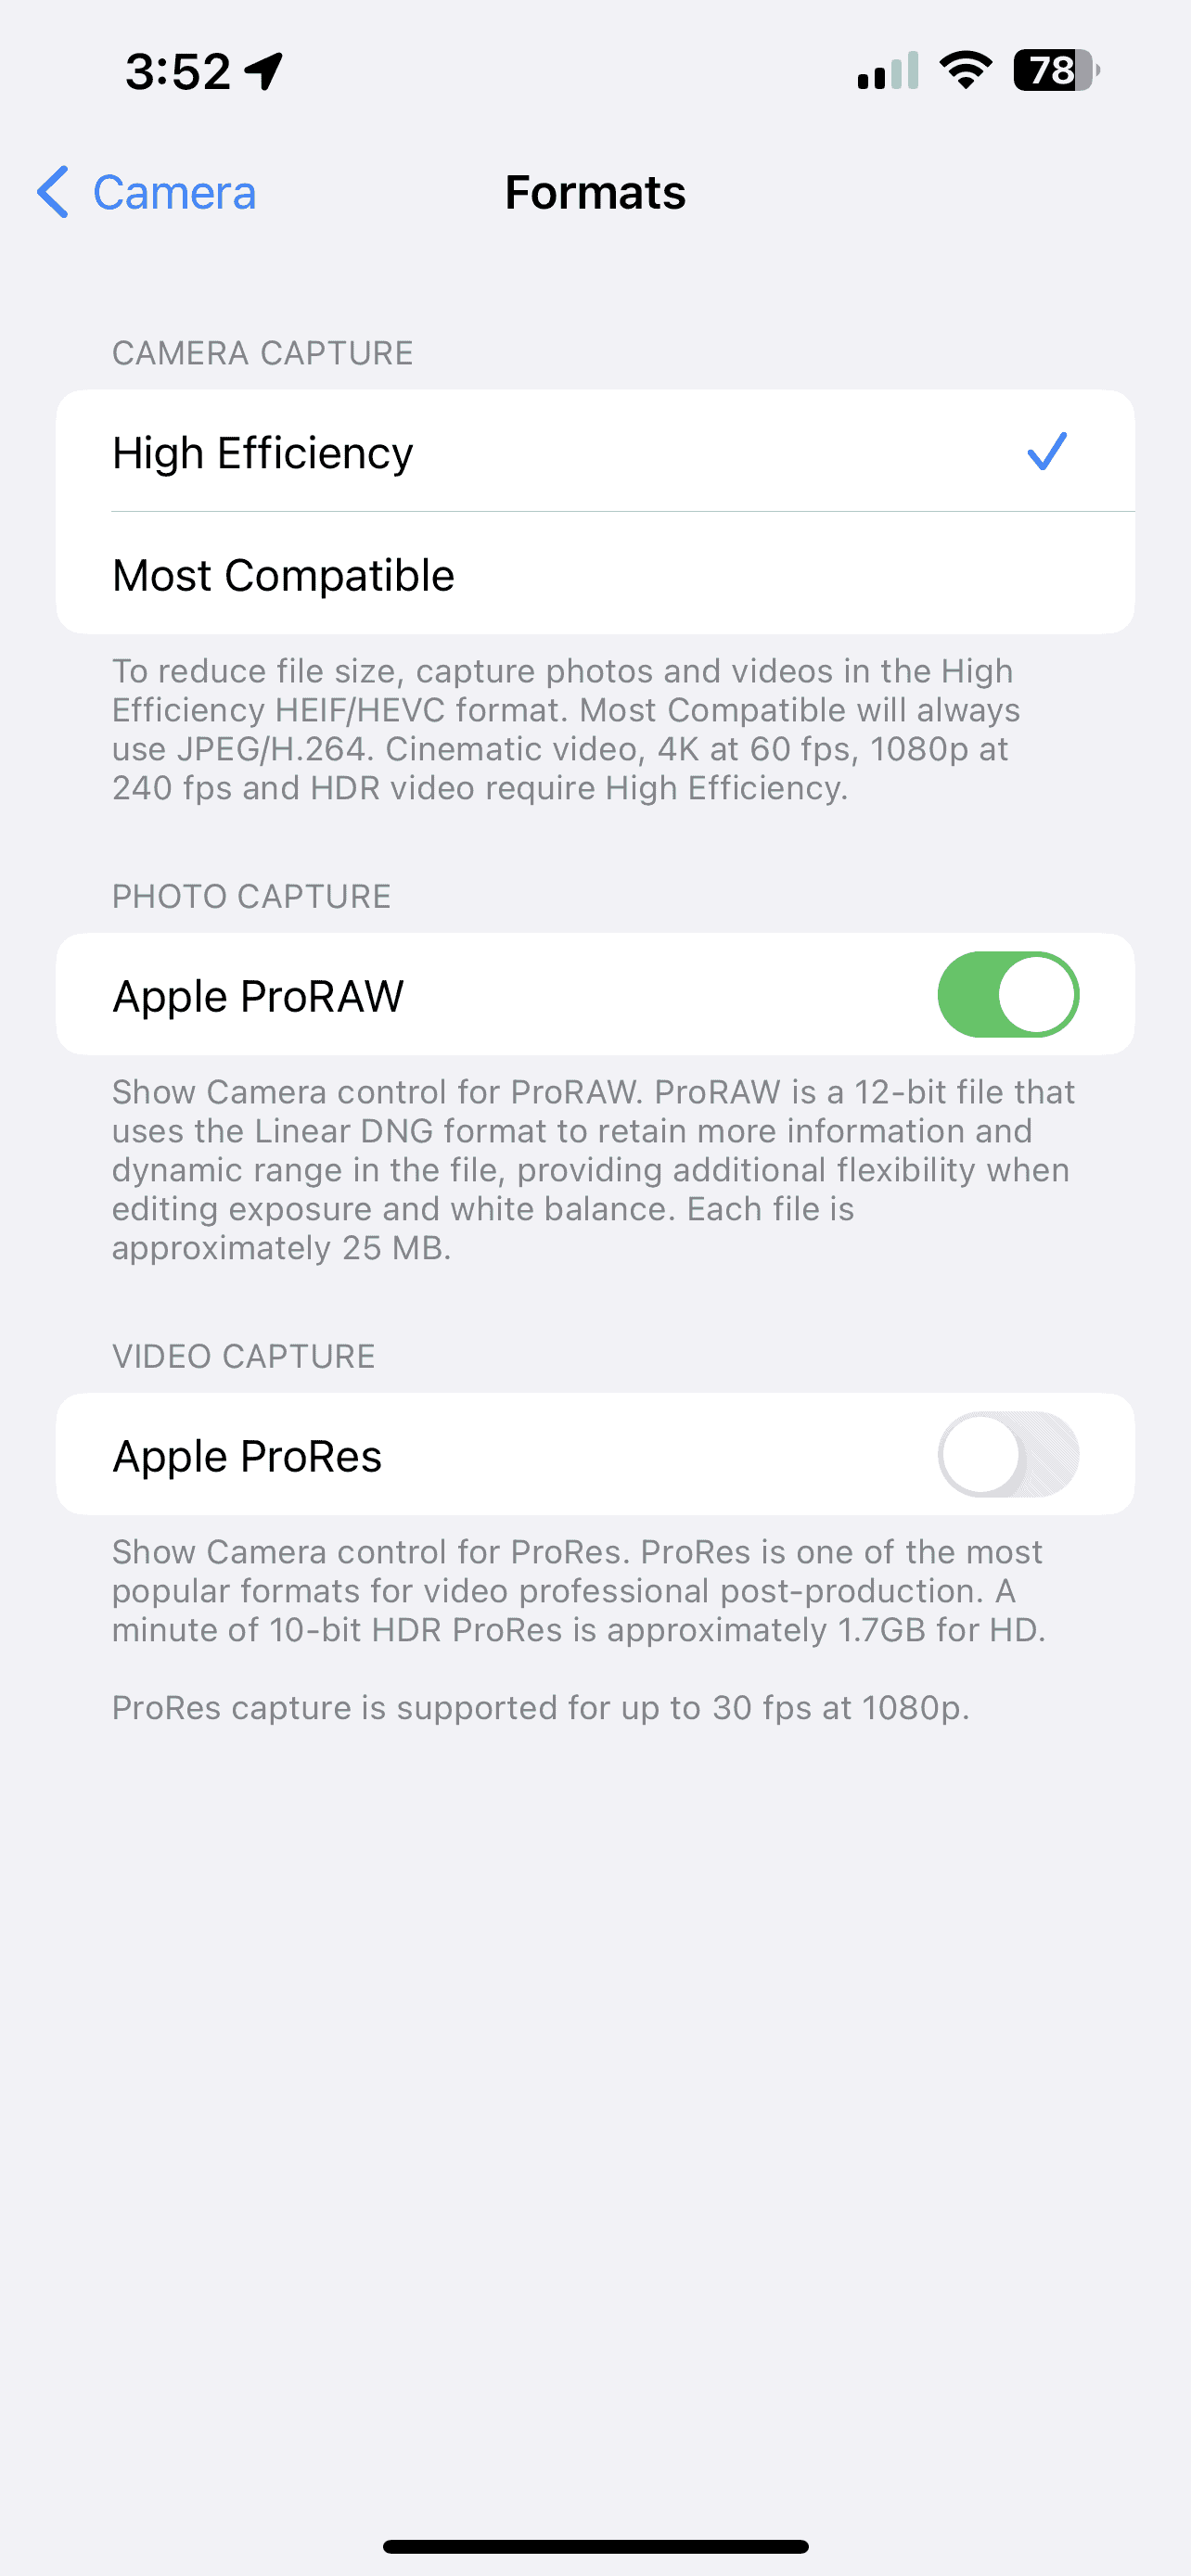
To enable this feature, once again head to your iPhone’s Settings and go to Camera > Formats > Apple ProRAW.
Without shooting in RAW on your iPhone, you generally have your photos saved as JPEG files. Think of a JPEG as a ready meal, and you can’t exactly change how it is made. The exposure, colour balance, ISO, and noise reduction is all decided for you, which is great in most cases as it is quick and convenient – like a ready meal.
By comparison, a RAW file is like a ‘Hello Fresh’ box, with all if the ingredients to make your chosen meal, and you can customise it any way you like!
Do just be aware that RAW photos have a much larger file size however, so it’s best not to leave this feature on all the time or you’ll quickly eat up your iPhone’s storage.
4. Editing
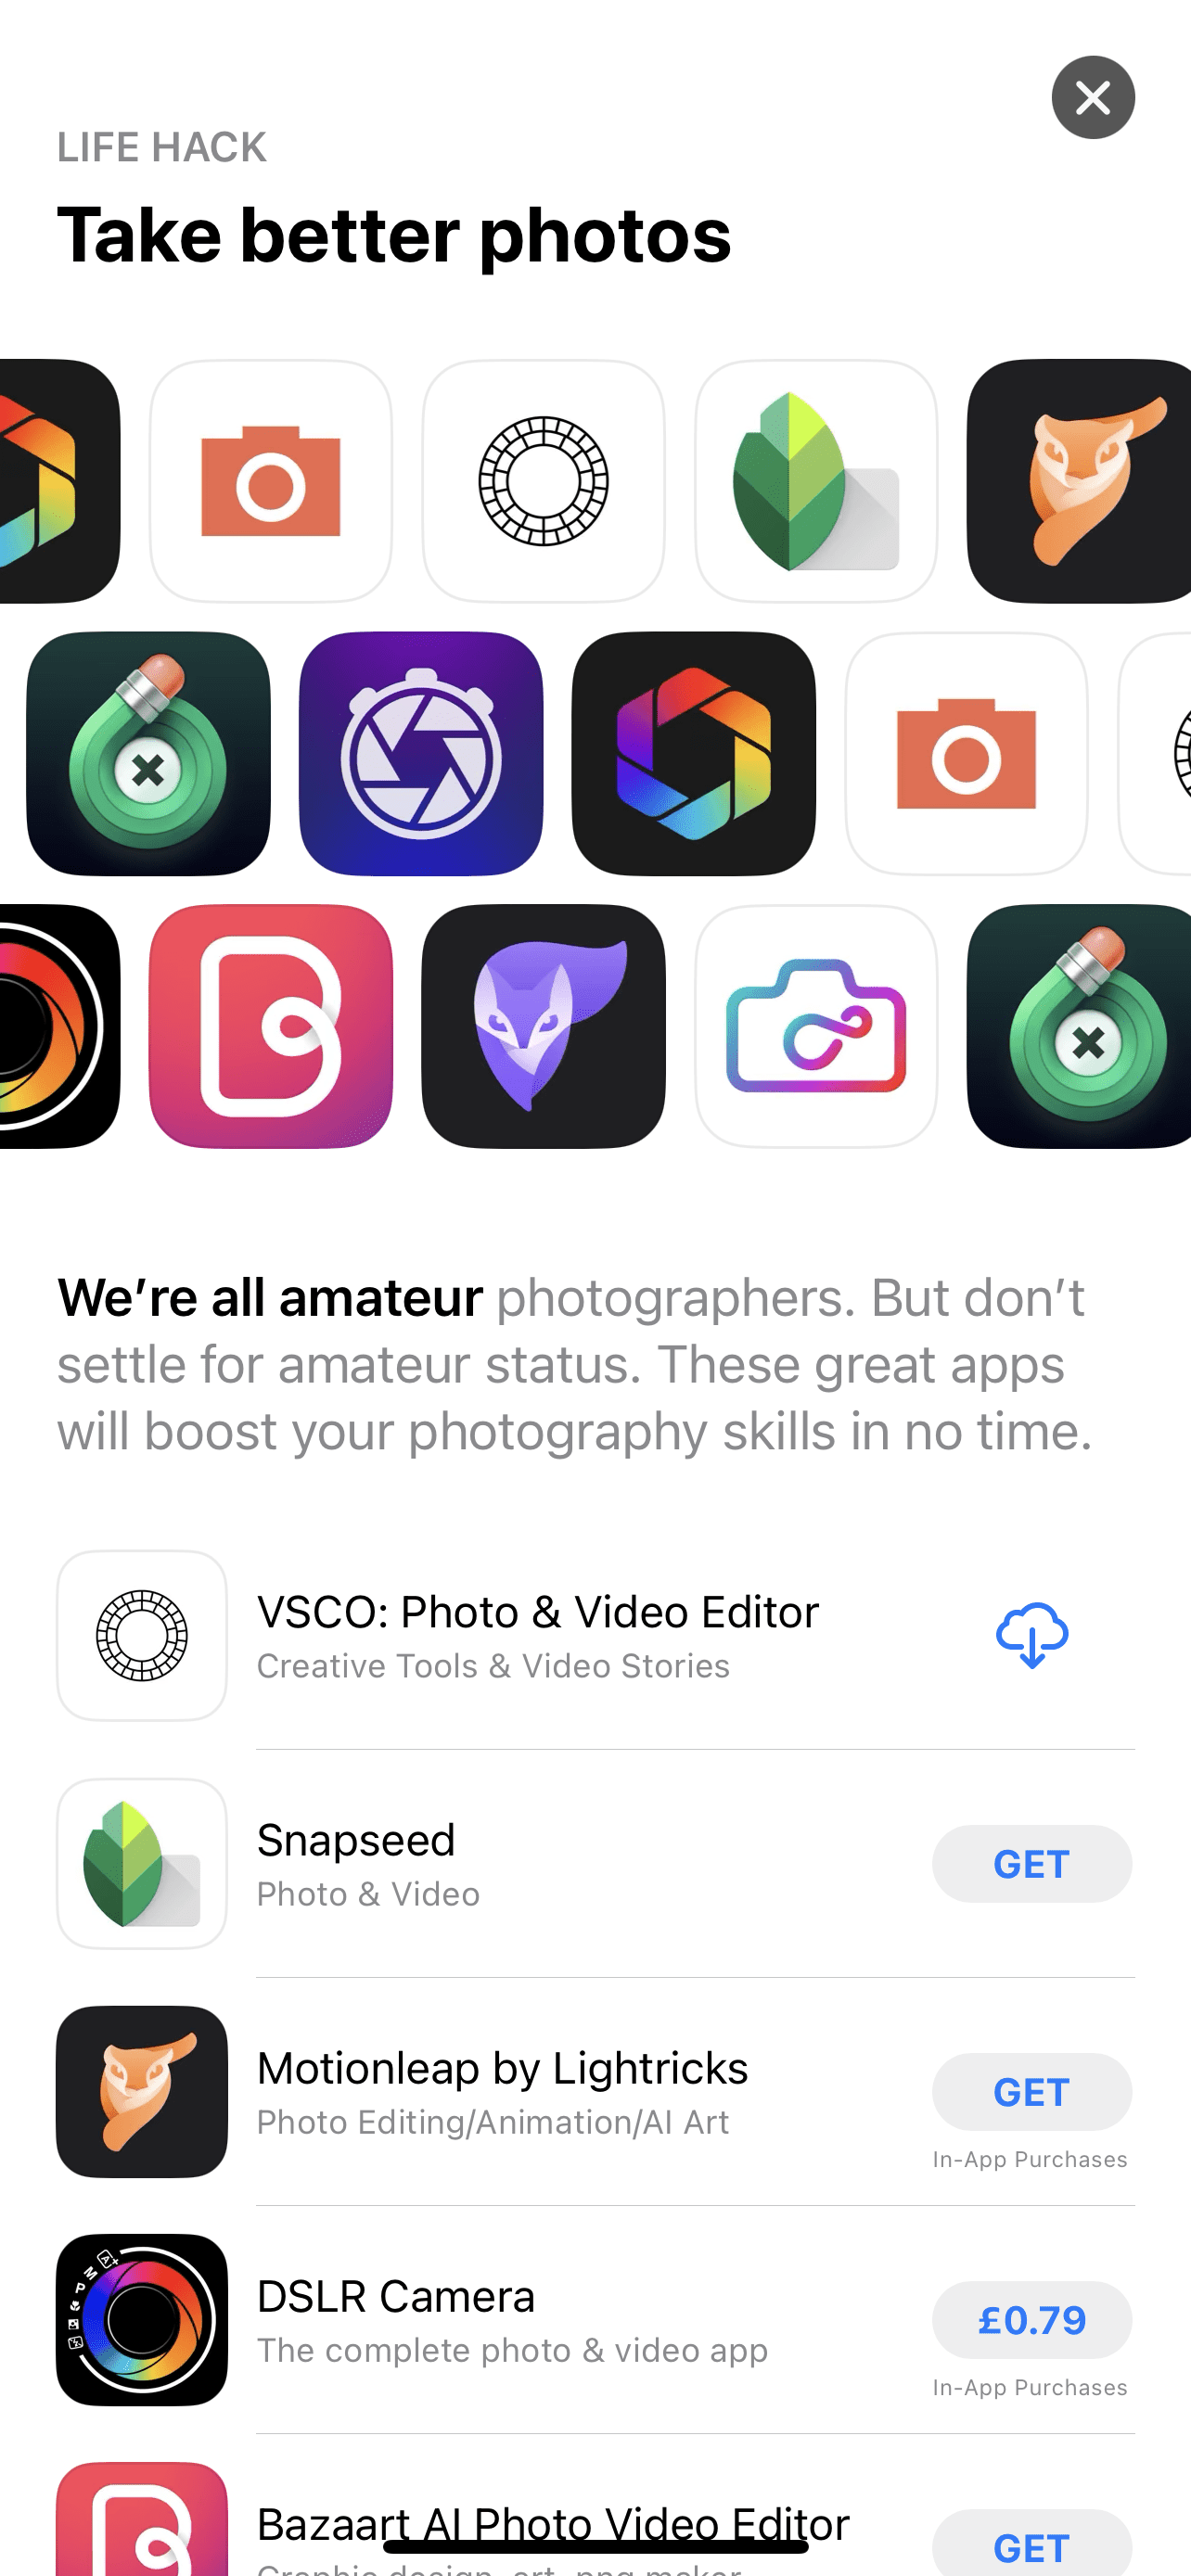
Part of the reason iPhone photography has become so popular is also because there are so many applications available on the App Store to enhance your photos through editing, before enabling you to quickly share them on your social media platforms.
Some recommended apps are: FaceTune, Snapseed, VSCO, Lightroom, and Photoshop.

You can also edit your photos within the Photo app itself by loading an image and tapping Edit at the top right of your screen. There are an array of edit options available such as exposure, brilliance, highlights, contrast, shadows, warmth, saturation and sharpness, to name a few.
And don’t miss the cropping tools, where you can also straighten your image too if things aren’t quite straight.
iPhone photography is a great way to get started in the photography world, but if you feel like you or your business needs some professional photography services, get in touch with Flamingo Marketing Strategies Ltd. today and we can help bring your vision to life.
Not only do we have photography services, but we can also help with branding, content creation, events and exhibitions, print, social media, websites and video marketing!
